Maintenance guides

Do it yourself, guided.

Every kit ships with a printed guide. Here is a preview of the most-used ones — each paired with the kit that has the parts. These are general DIY guidance; suitability and load-bearing depend on your own home.
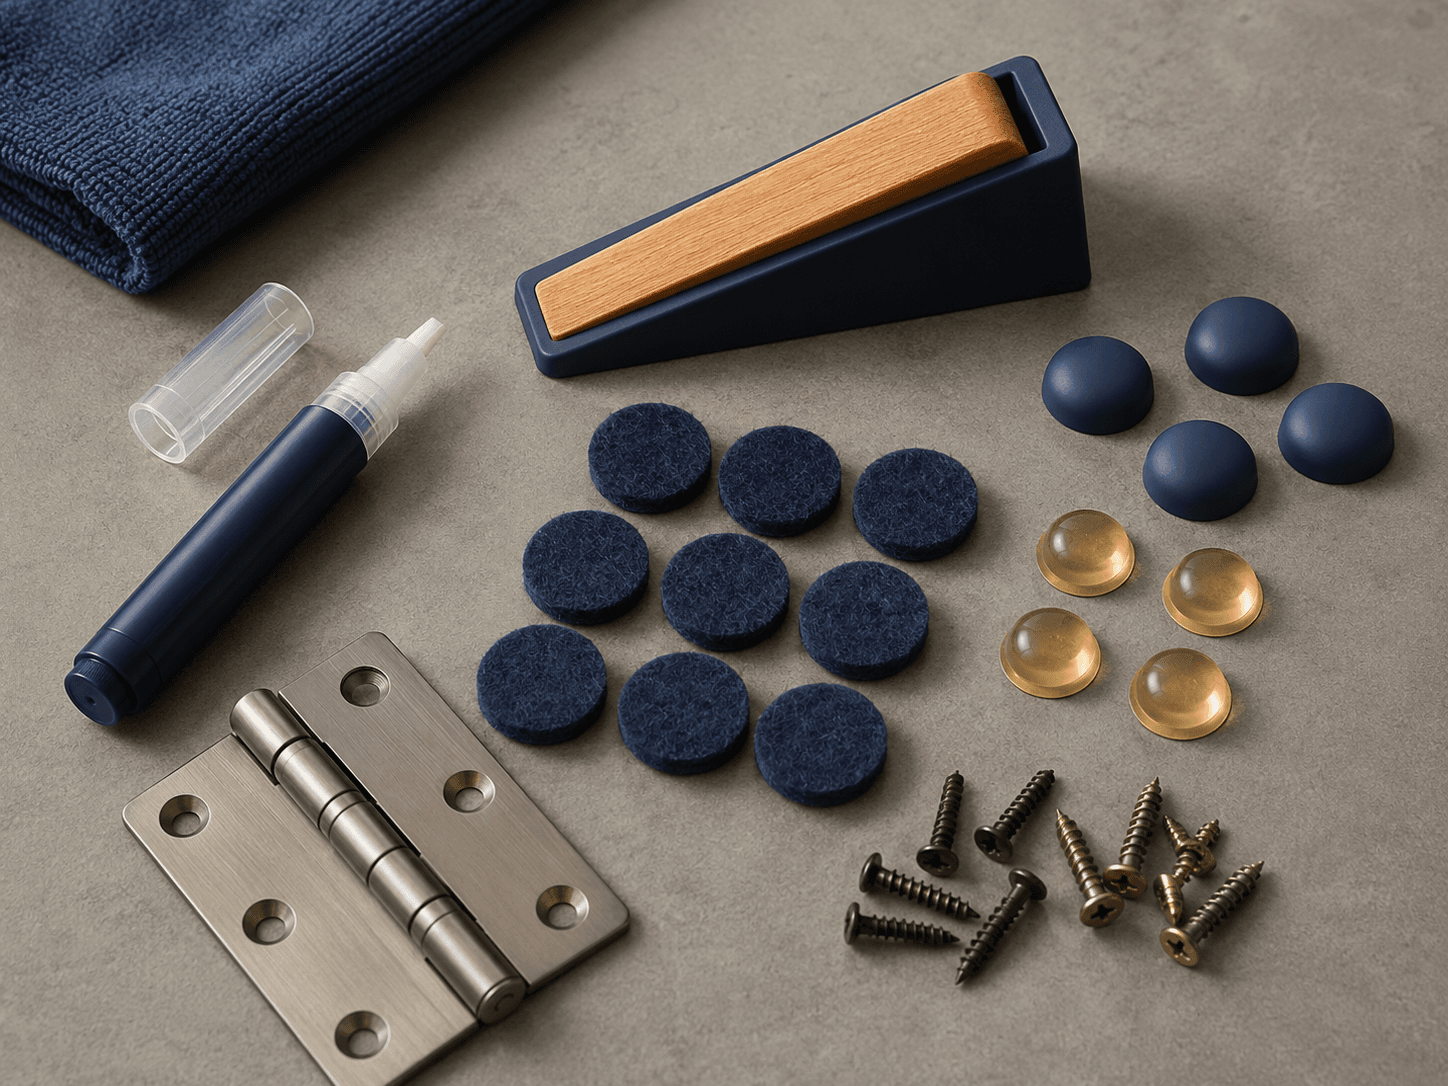
Silence a squeaky, slamming door

Silence a squeaky, slamming door

  1. Wipe the hinge and work the door to find the noisy pivot.
  2. Apply the hinge lubricant pen to each hinge pin and open and close a few times.
  3. Add felt pads to the frame and fit the soft-close bumper so it stops banging.
Get the Squeak & Slam Door Kit
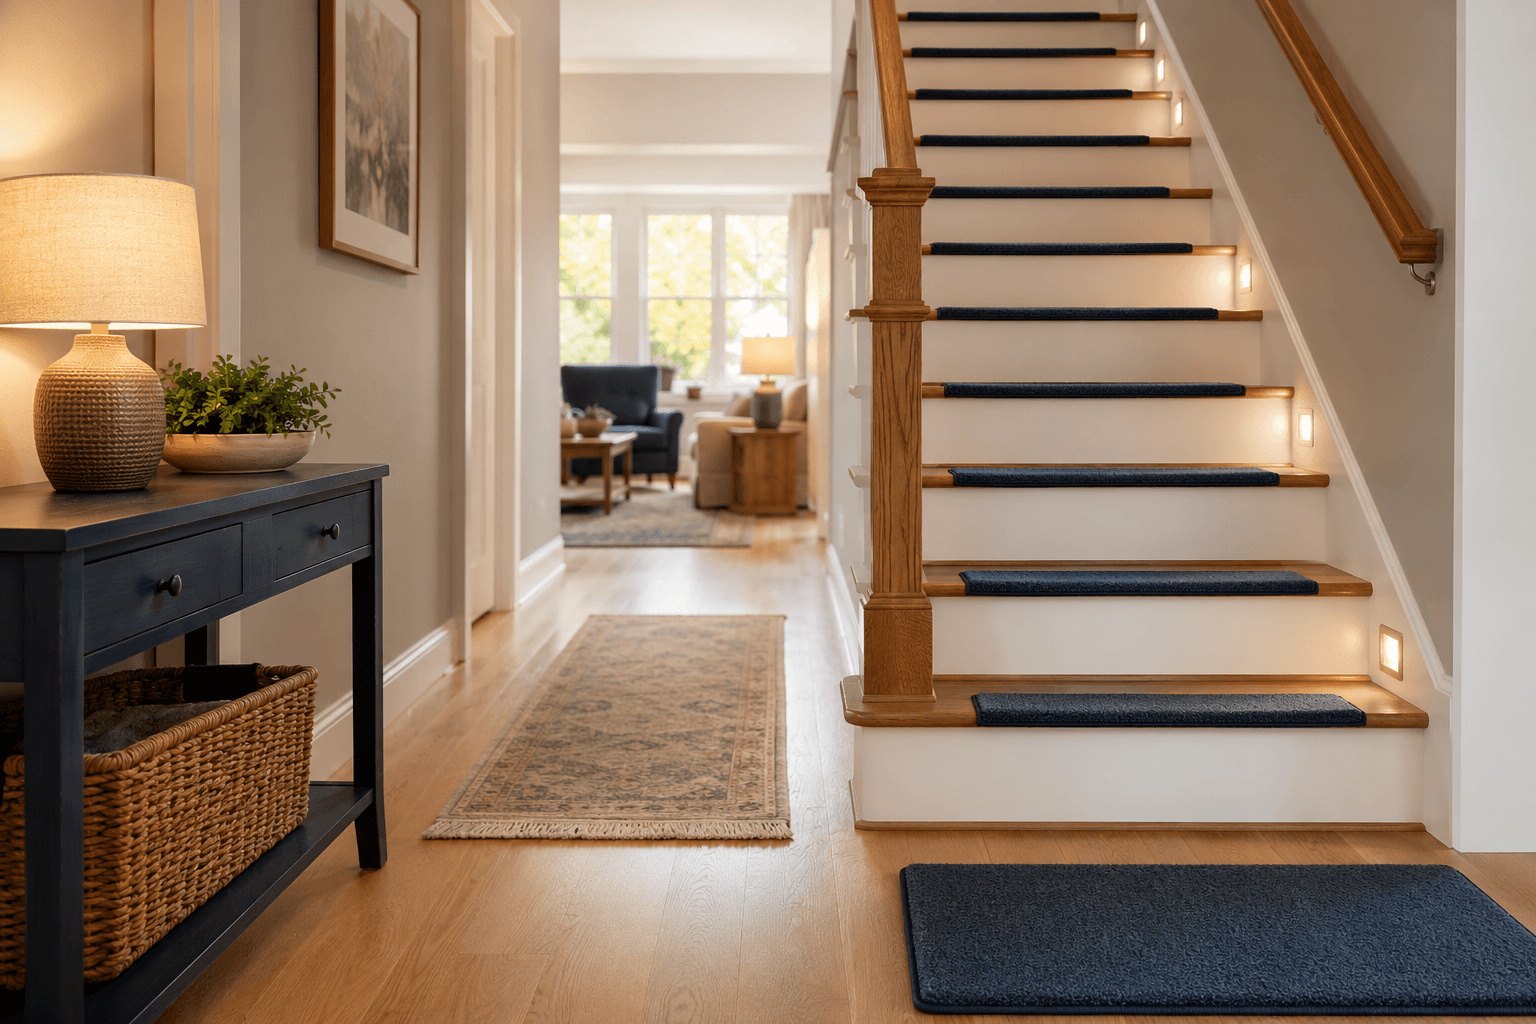
Make a staircase sure-footed

Make a staircase sure-footed

  1. Clean each tread with the prep wipe and let it dry fully.
  2. Position an anti-slip strip near the front of each step and press firmly.
  3. Add glow edge strips so the step nosing is easy to see at night.
Get the Anti-Slip Stair Safety Set
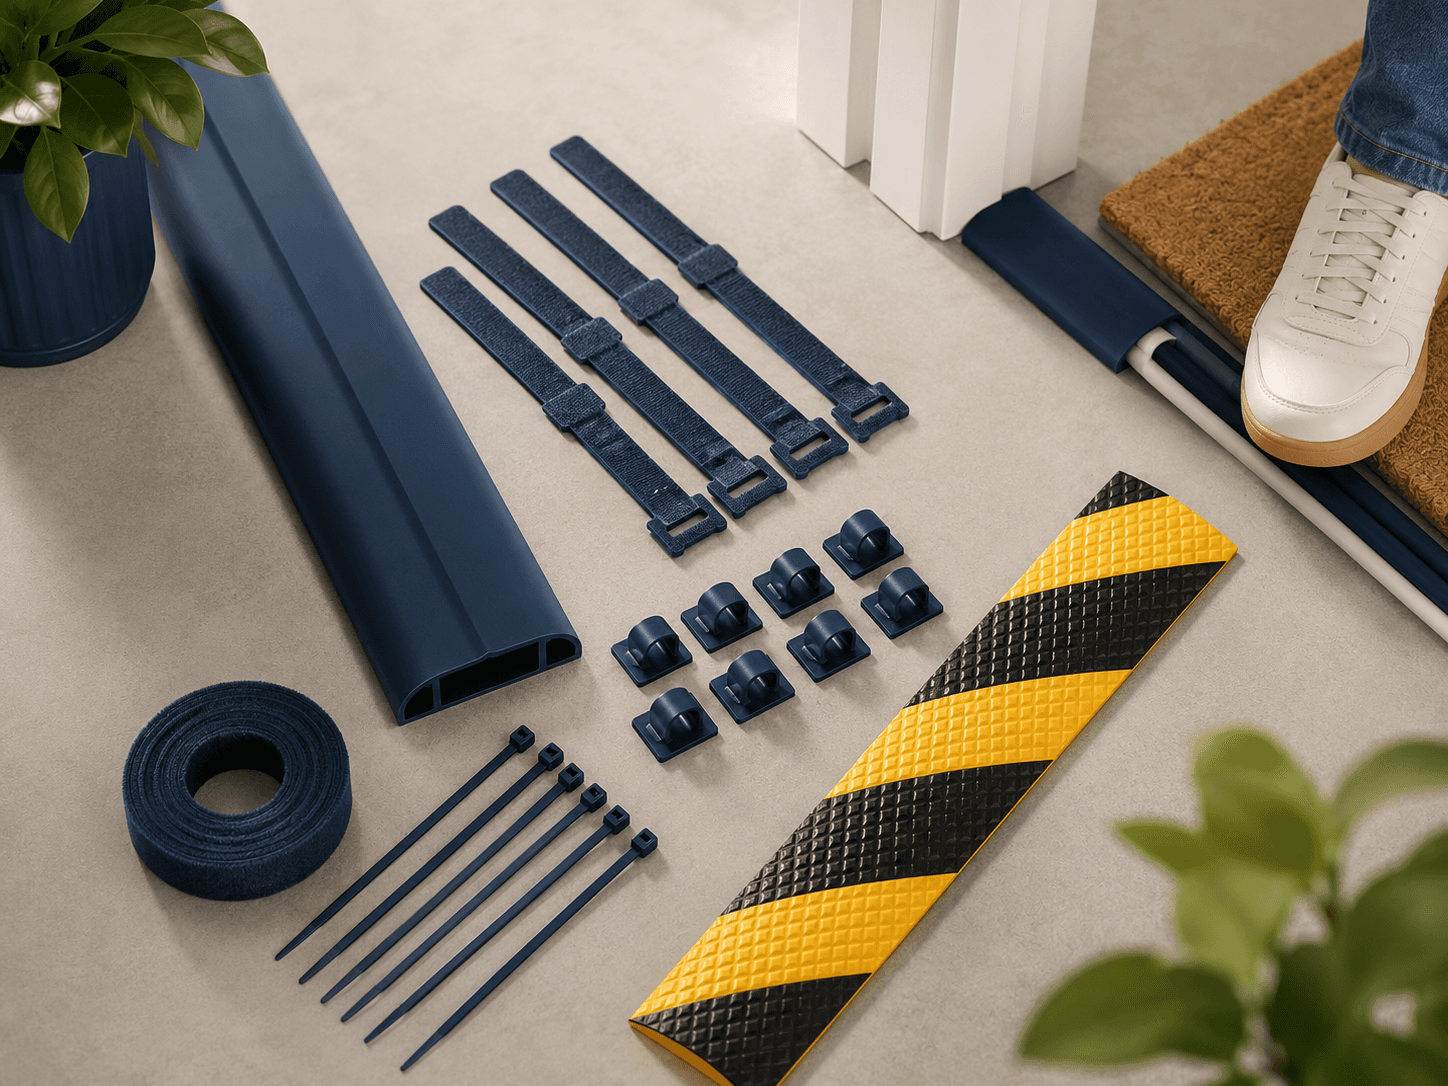
Tidy cables and remove trip hazards

Tidy cables and remove trip hazards

  1. Group loose cables and route them toward the wall.
  2. Use the adhesive clips along skirting, or the floor channel where cables cross a walkway.
  3. Finish exposed runs with the warning strip so nobody trips.
Get the Cable & Entryway Tidy Kit
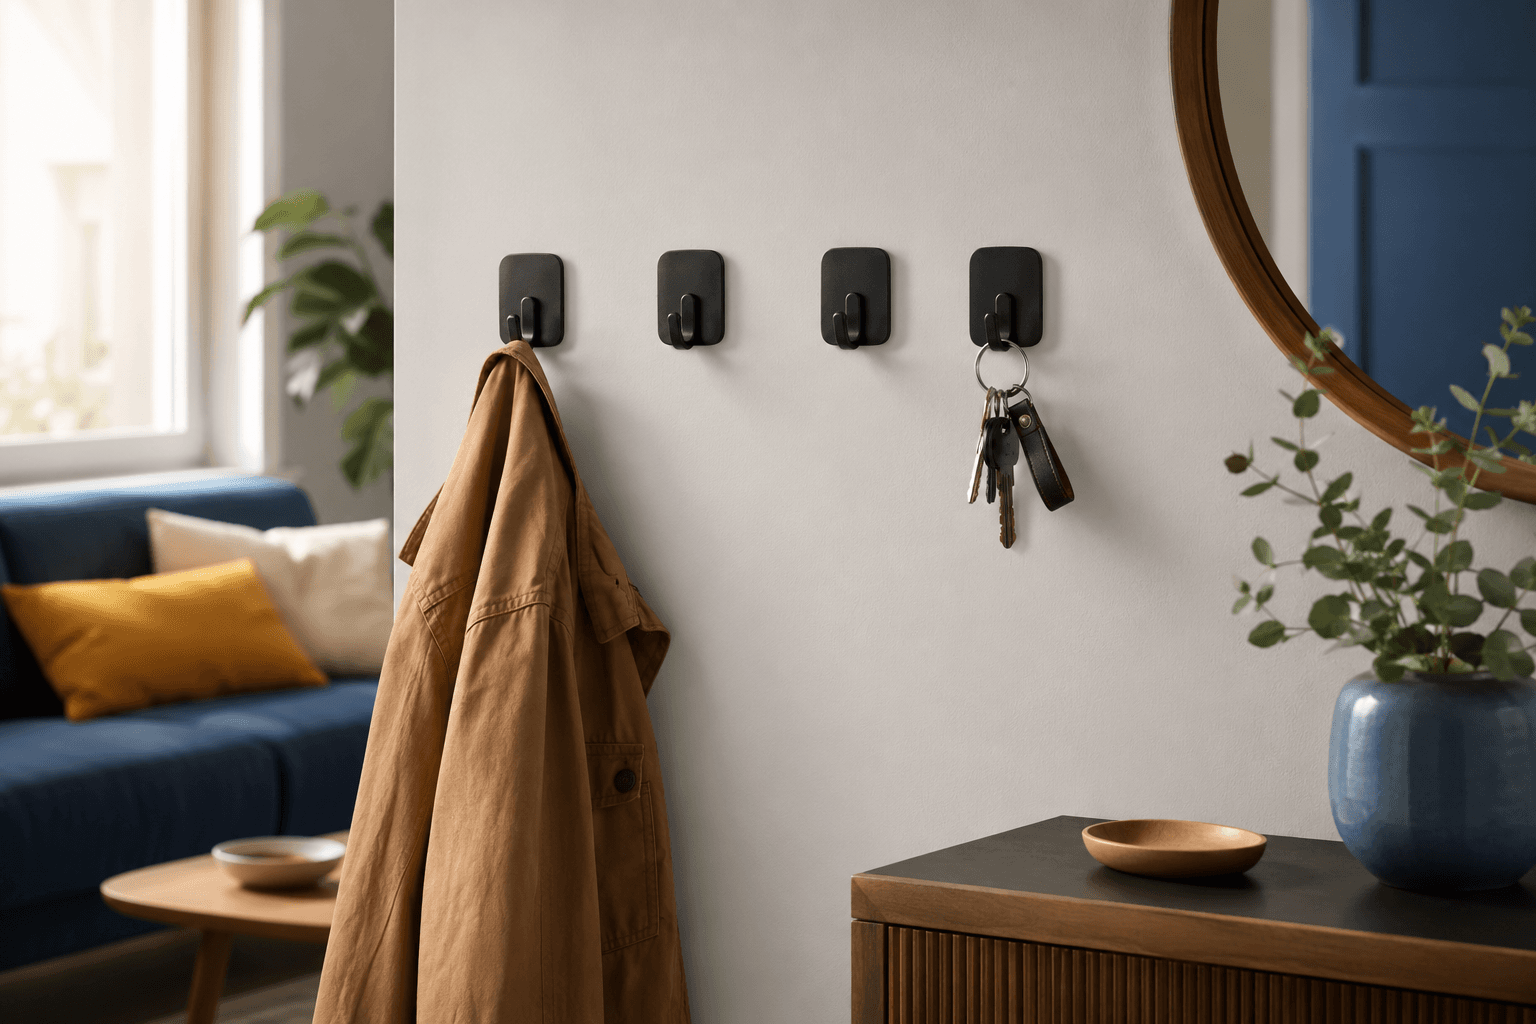
Hang things in a rental without drilling

Hang things in a rental without drilling

  1. Clean and dry the wall where the hook will go.
  2. Apply the removable strip, wait as directed, then attach the hook and load gradually.
  3. To remove, stretch the strip slowly downward for a clean, mark-free finish.
Get the Rental-Friendly No-Drill Kit
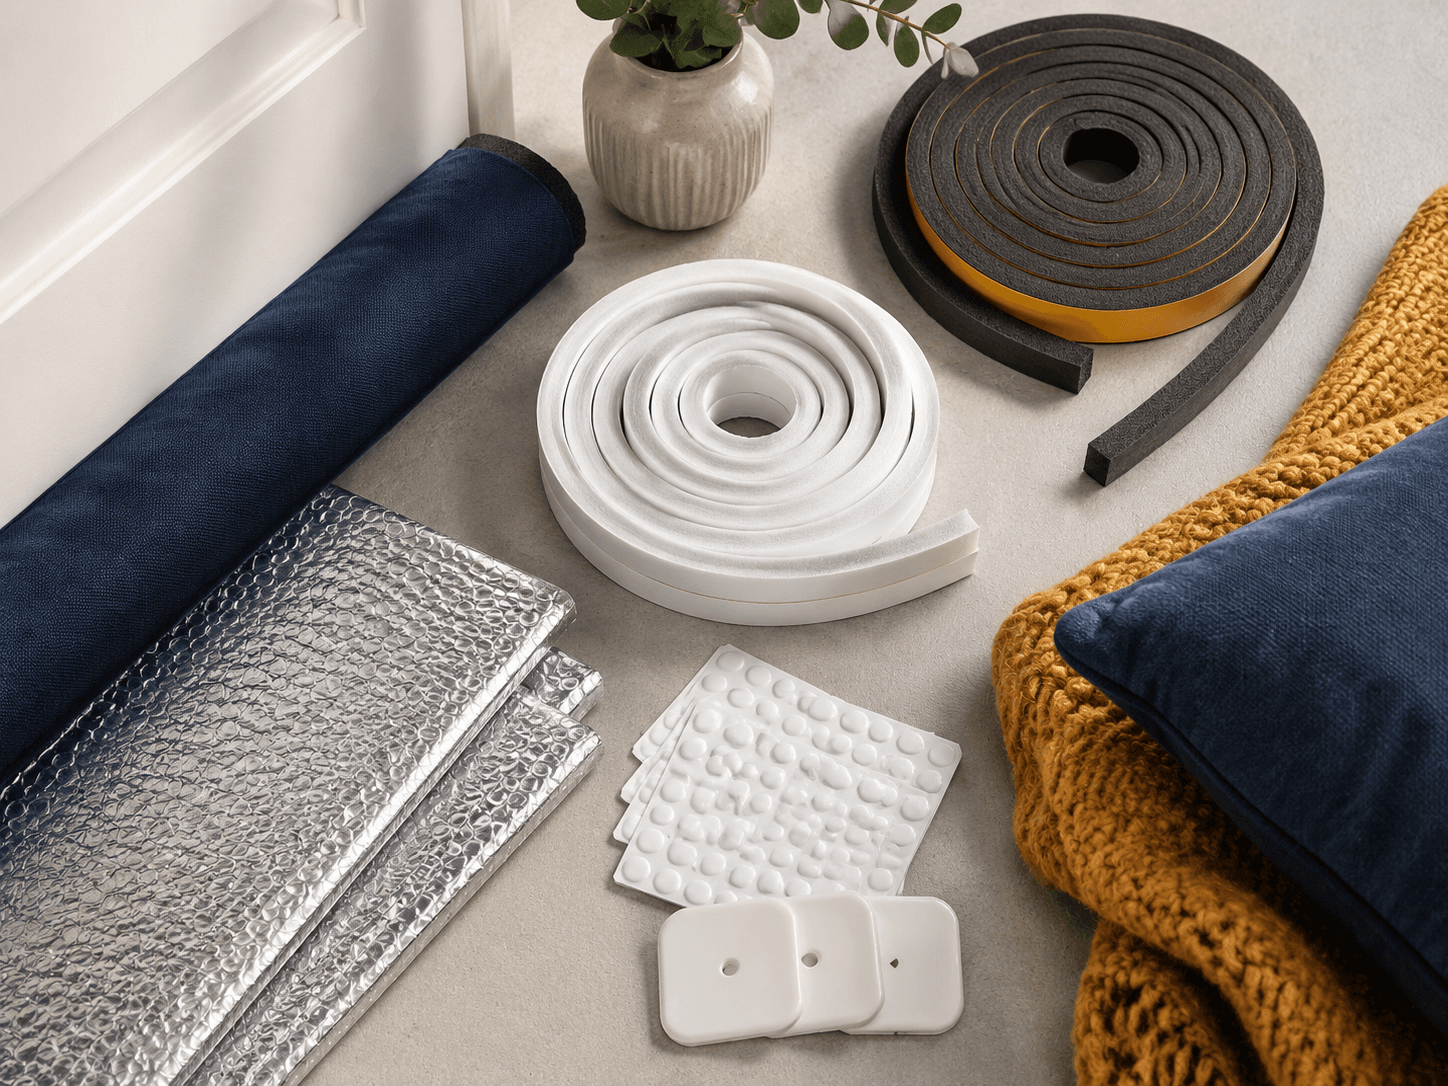
Stop draughts and keep the warmth in

Stop draughts and keep the warmth in

  1. Find the gaps: run your hand around door and window edges on a windy day.
  2. Fit the door-bottom excluder and press the foam seal into the window frame.
  3. Add socket insulation pads and reflective panels behind cold spots.
Get the Draught & Insulation Comfort Kit
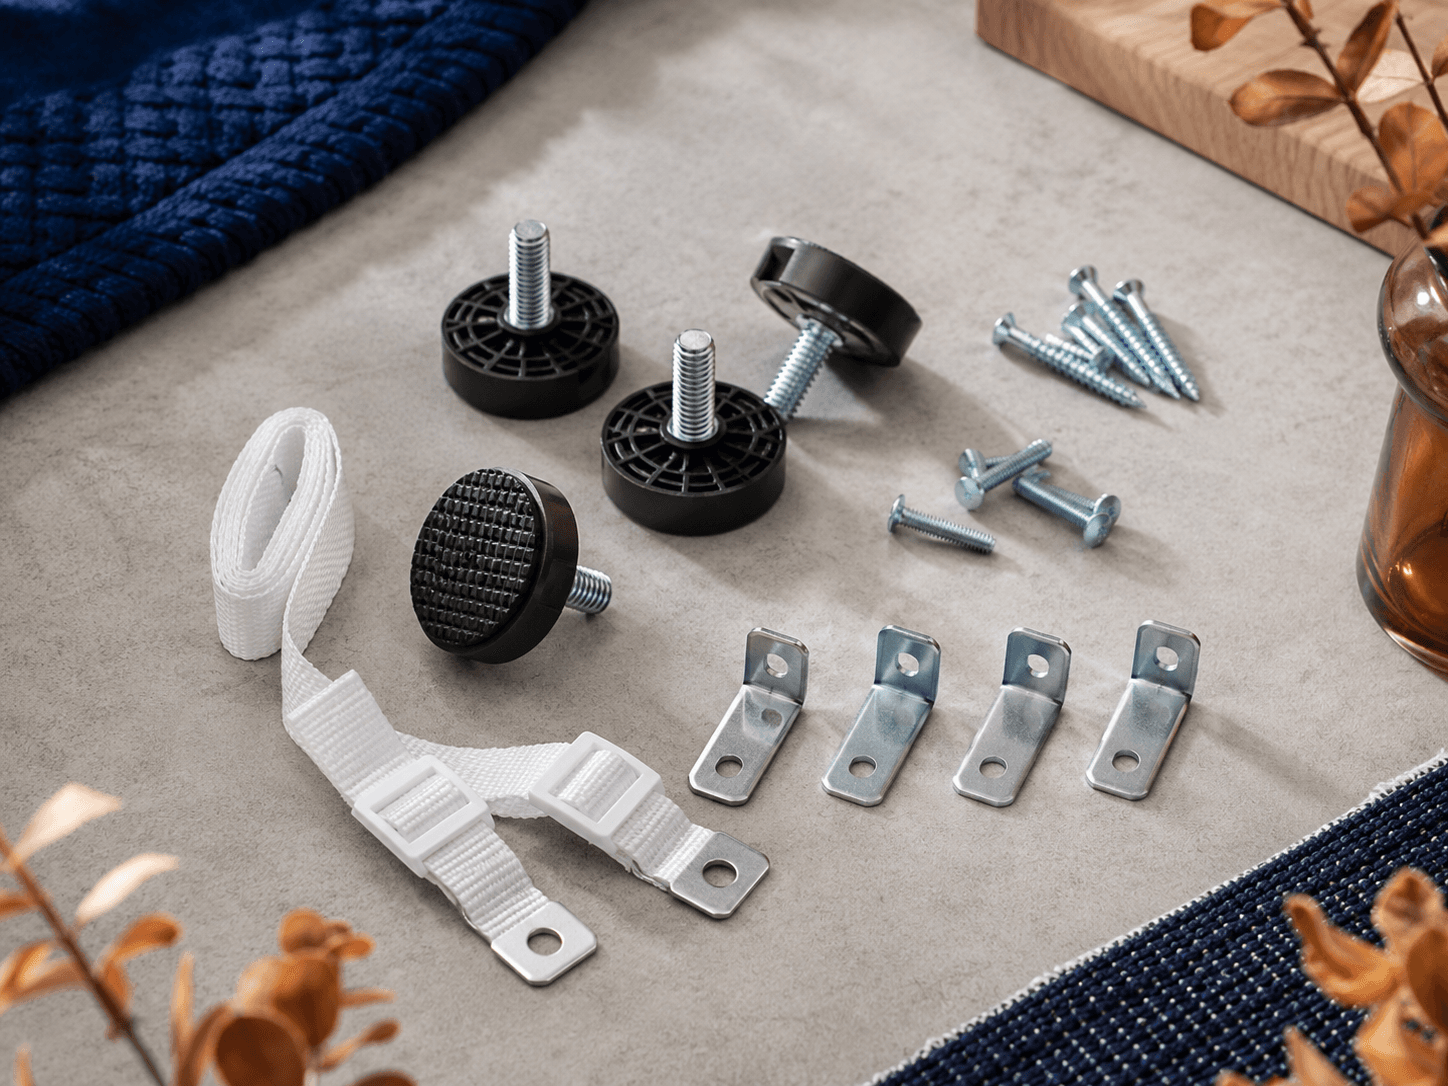
Level wobbly furniture and prevent tipping

Level wobbly furniture and prevent tipping

  1. Rock the item to find the short leg, then fit and adjust the levelling feet.
  2. For tall units, fix an L-bracket or anti-tip strap to a stud in the wall.
  3. Re-check stability once everything is loaded back on.
Get the Wobble-Free Furniture Kit

Reviewer utility: shop catalog product SKU cart add to cart quote quantity bundle checkout bulk inquiry contact shipping returns refund USD.